Common Accessibility Errors in Word
Creating accessible documents in Microsoft Word is essential to ensure that all users—including those who rely on assistive technologies—can access and navigate your content. However, Word doesn’t automatically make documents accessible, and it’s easy to overlook key elements that affect accessibility. This guide outlines some of the most common accessibility errors found in Word files and provides practical steps to fix them.
- Document Title
- Headings
- List Formatting
- Empty Paragraphs
- Link Text
- Alt Text
- QR Codes
- Color Contrast
- Reading Order
- Table Formatting
- Saving an Accessible PDF
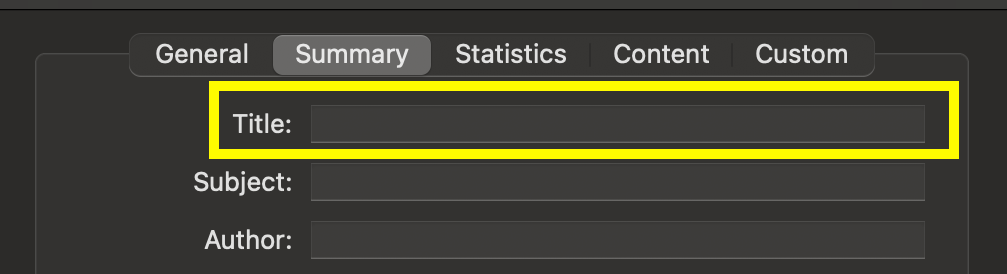
Missing Document Title
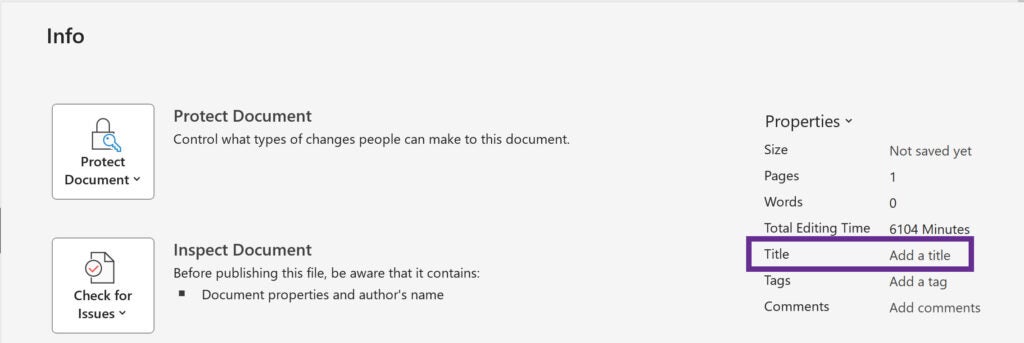
An accessible document should have a descriptive title (not just the file name). This helps screen reader users quickly identify the document’s purpose.
How to Add a Title:
- Windows: Go to File > Info, then add a title in the Title field under Properties.
- Mac: Go to File > Properties > Summary, then add a title in the Title field.
Missing Headings
Headings provide structure and help users navigate your document. Use Word’s built-in styles—not just bold or large text.
Best Practices for Headings:
- Use headings as labels for sections (not for formatting).
- Apply heading levels sequentially (e.g., H1 > H2 > H3).
Heading levels must be used sequentially to create a hierarchical structure for the information in your document.
Example Heading Structure:
- H1: Document Title
- H2: Section title
- H3: Subsection Title
- H3: Subsection Title
- H2: Another Section Title
- H2: Section title
How to Apply Headings:
- Locate text that functions as a heading and select the text with your cursor.
- Open the Styles Pane in the Home ribbon.
- Determine the appropriate heading and locate the built-in style in the Styles Pane.
- If you would like to use the built-in style as-is, click on it to apply the style to your text. If you would like to update the style to match the text in your document, click on the arrow next to the style and choose “Update to Match Selection”.


Improper List Formatting
Manually typing bullets or numbers doesn’t create accessible lists. Use built-in list features.
How to Format Lists:
- Use the list buttons in the Home ribbon.
- For multilevel lists, use Define New Multilevel List.
- Only use lists for two or more related items.
- Avoid splitting lists across pages when possible. If necessary, combine them after exporting the PDF using the Accessibility Tags panel in Adobe Acrobat Pro.

Empty Paragraphs used for Spacing
Pressing Enter to add space creates empty paragraph tags, which screen readers announce unnecessarily. Empty paragraphs between items in a list will cause each list item to be read as a separate list instead of a single continuous list.
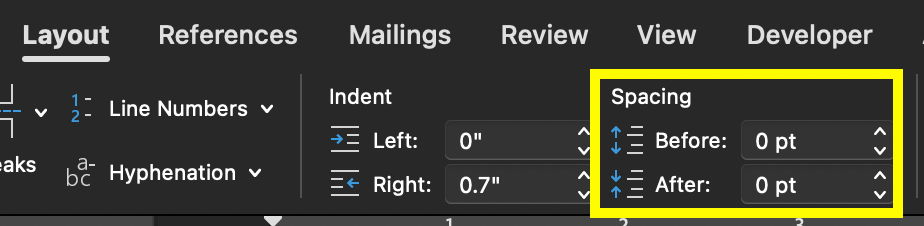
How to Create Accessible Spacing:
- Tun on Show/Hide Special Characters in the Home Ribbon to locate empty paragraphs. A ¶ symbol on a line by itself is an empty paragraph.
- Use Space Before/After in the Layout Ribbon to create space between blocks of text.
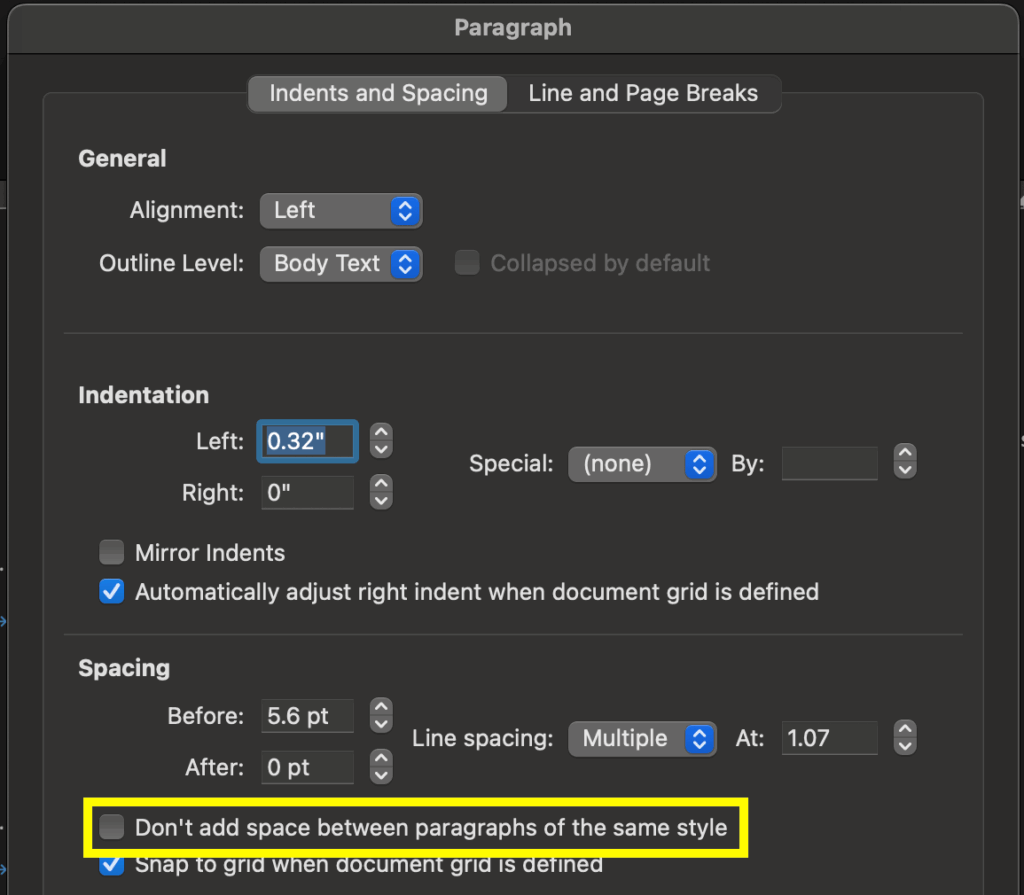
- To ensure spacing between same-styled paragraphs, select the text, right-click > Paragraph > uncheck “Don’t add space between paragraphs of the same style.”
- To move text to the next page, use a Page Break.

Unclear Link Text
Link text should clearly indicate the destination and be understandable without surrounding context.
Best Practices for Link Text:
- Use descriptive link text such as the name of the destination website or page, not URLs (for example, use “East Carolina University website” instead of “https://ecu.edu”).
- Avoid vague phrases like “click here” or “learn more.”
- Links with identical text must lead to the same destination. If they do not, use distinct wording.
- For image links, include a description of the destination in the alt text.
Images Missing Alternative Text
Alt text describes images for users of assistive technology.
Important/Descriptive Images:
- Add alt text that conveys relevant details
- If the image contains text, the alt text must contain the same text
- If the image is a hyperlink, describe its destination in the alt text.
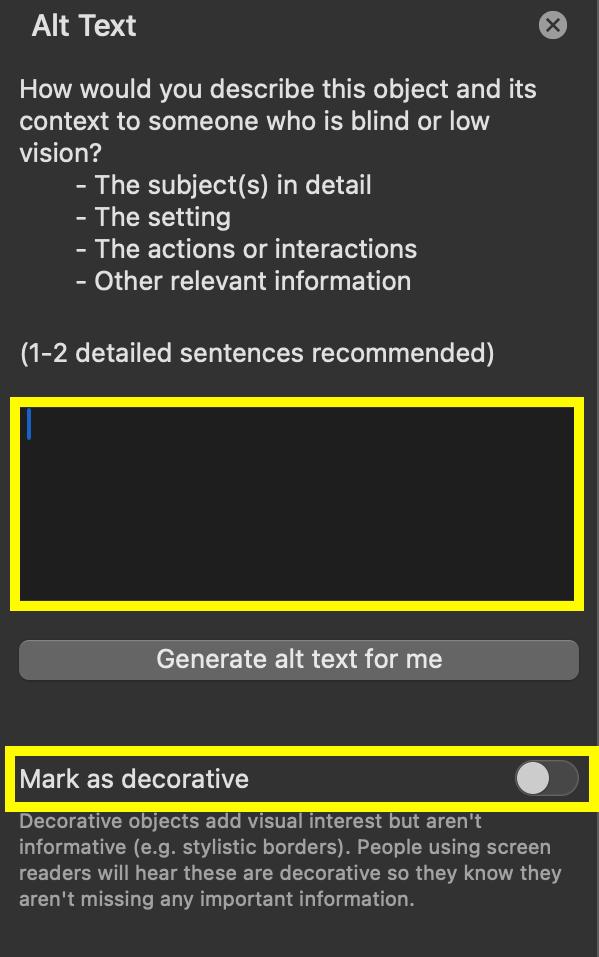
How to add Alt Text:
Right-click the image > View Alt Text… > enter description.
Tip: If you need assistance with writing alt text, ChatGPT is great at giving you a starting point.
Decorative Images:
- Mark as decorative so screen readers can skip them.
- Right-click the image > View Alt Text… > check “Mark as decorative”.
QR Code Best Practices
Avoid using QR codes in digital documents, as they require a second device to scan. Instead, use clickable links for better accessibility and user experience.
If a QR code is necessary:
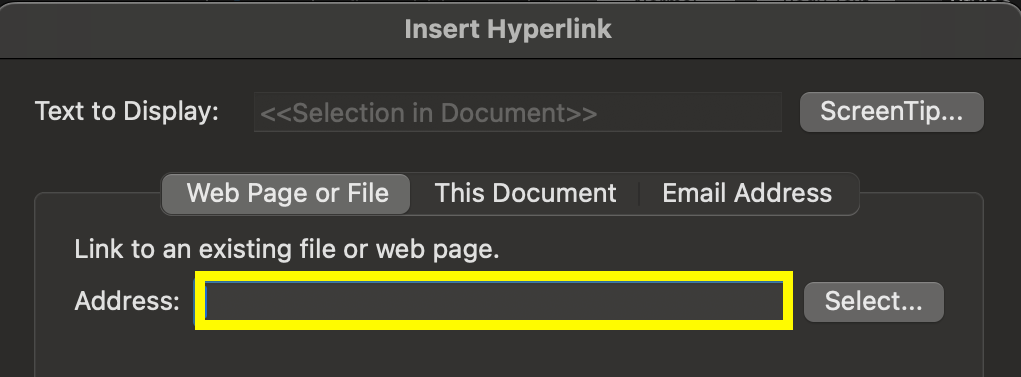
- Add a hyperlink to the QR code image so users can click it directly. To add a hyperlink, right-click the image > Hyperlink > Web Page or File > enter the destination URL.
- Include alt text that describes the link destination (e.g., “QR code linking to the East Carolina University website”).
Insufficient Color Contrast
Text must have strong contrast with the background to be readable by all users.
How to Check Color Contrast:
- Use Word’s Accessibility Checker for basic contrast issues.
- For images or complex backgrounds, use tools like TPGi Color Contrast Analyzer (free download)
- Ensure all color combinations meet WCAG Level AA standards.

Reading Order does not Match Visual Order
The reading order is the order in which assistive technology will read the elements in a document. Assistive tech reads based on the document’s tag order—not its appearance.
Best Practices for Reading Order:
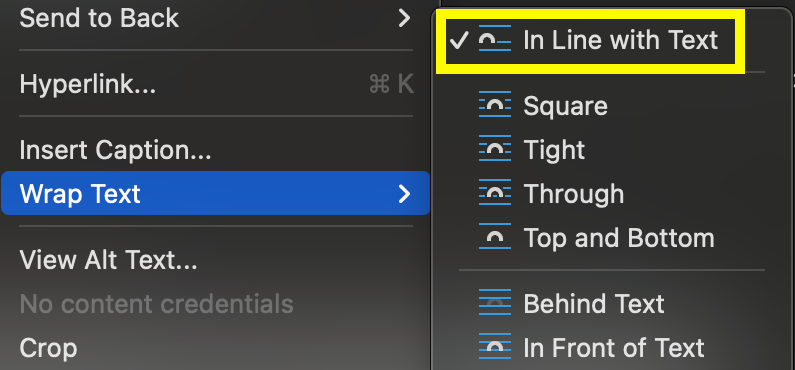
- Avoid text wrapping around images.
- Anchor images and text boxes in line with text (not floating).
- Stick to content within the main text area.
Improper Table Formatting
Tables must be used only for data—not layout—and should follow accessibility best practices.
Best Practices for Tables:
- Avoid merged cells.
- Provide clear, descriptive header cells—no blanks.
- Mark header cells correctly in Word
- Select the table.
- Go to Table Design ribbon.
- Check Header Row and/or First Column, as appropriate.
- Avoid empty cells; use “Not applicable” if needed to provide the most consistent experience for all users.

How to Save an Accessible PDF from Word
- Do not print to PDF to save your file!
- Use File > Save As or File > Save a Copy
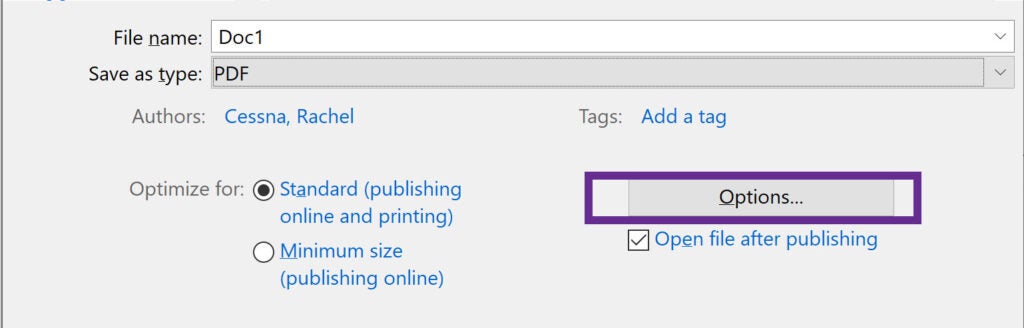
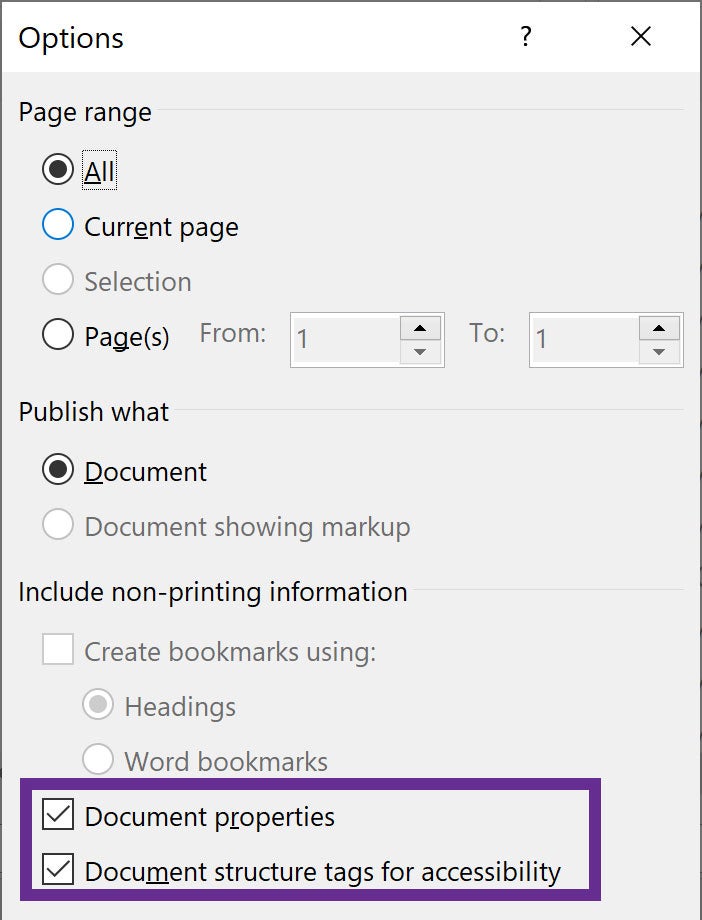
- On PC, choose PDF from the file type dropdown, select “More options, select “Options”, select “Document structure tags for accessibility” checkbox, and save the file
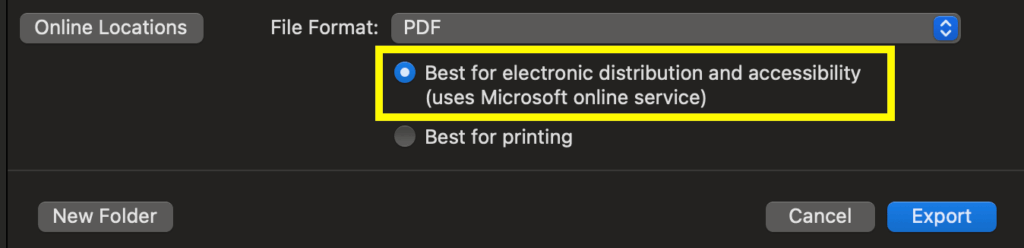
- On Mac, choose PDF as the file format, select “Best for electronic distribution and accessibility”, and save the file